Creating a wiping task
In this article, we review how to create a wiping task in 5 simple steps:
Step 1. To create a wiping task, click ‘Add New T ask’ when editing or creating a wiping policy. You will then be presented with the following view:
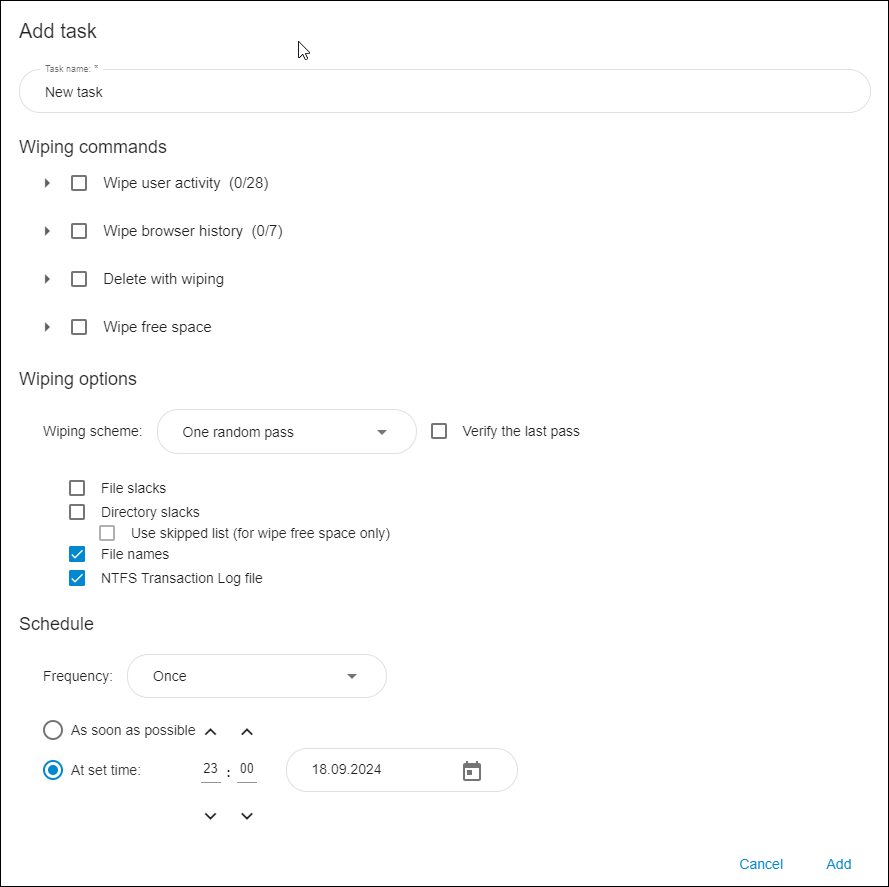
Step 2. (optional): Choose a name for the new task.
Step 3. Choose what you want to wipe by ticking the checkbox next to the appropriate wiping command.
🗲HINT: Multiple wiping commands can be selected within the same wiping task.
Clicking the drop-down menu icon next to the wiping command will expand the view, offering a more detailed selection.
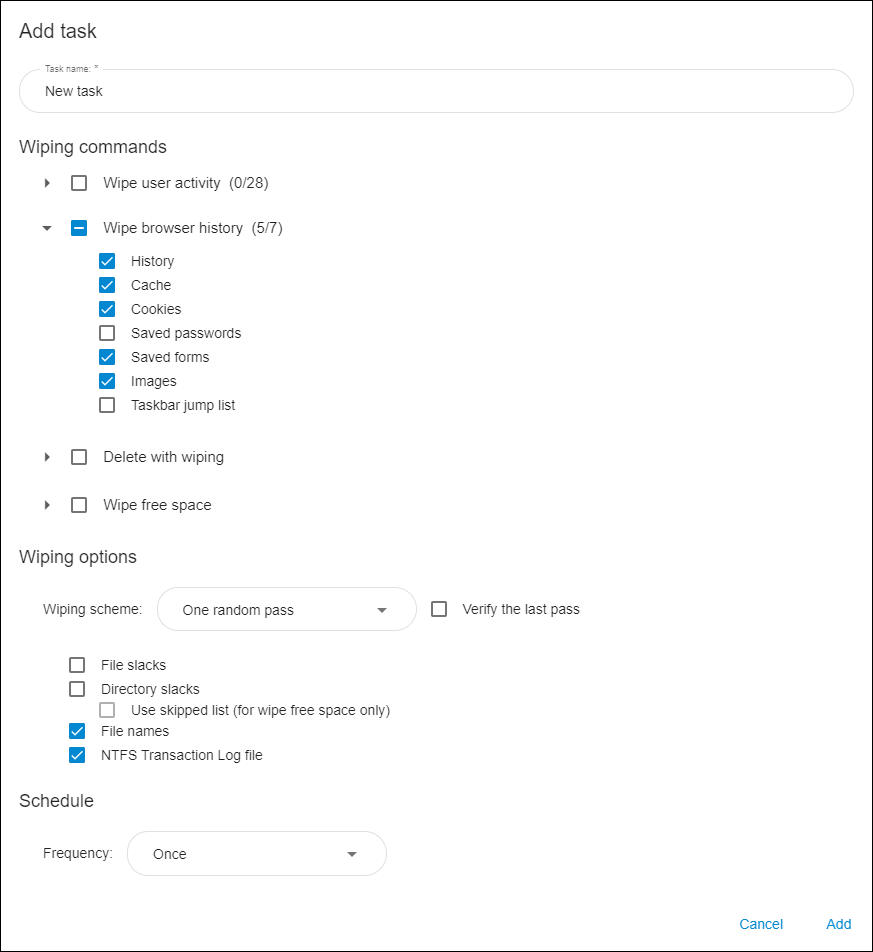
Select the elements you want to wipe by ticking the relevant boxes. The checkbox next to the wiping command can be used to select or deselect all boxes.
Learn more about different types of wiping commands here: Wiping commands.
Step 4. (optional): Adjust the wiping options.
By default, wiping tasks are executed with the options recommended by the Jetico team. You can change the default settings in the ‘Wiping options’ section when creating a new task.
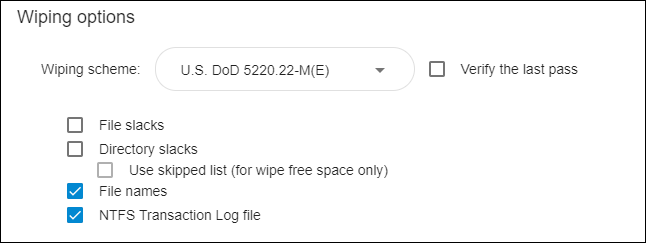
Learn more about wiping options here: Wiping Options.
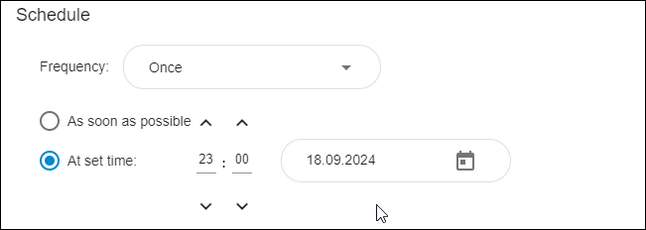
Step 5. (optional): Define a time for the task to begin.
The default schedule is ‘Once’ and ‘At defined time and date’. If you don’t change the schedule, the task will be automatically executed at 23:00 on the same day.
Learn more about the available scheduling options in BCWipe here: Schedule.
Final step: Click ‘Add task’ to save the configuration and add the task to the wiping policy.