Quick-access wiping commands
At the top of BCWipe Task Manager is the Overview panel, which is where the PC’s wiping-related statistics are displayed. Next to each element are quick-access controls that can be used to erase the corresponding data.
This article will focus on using quick-access wiping commands in the Overview panel. For an in-depth description of the kinds of data that BCWipe’s Overview panel provides, read this article: Overview panel

The ‘Wipe’ buttons are located under each element of the Overview panel. Once you click the ‘Wipe’ button, a simplified view of the wiping task will open.
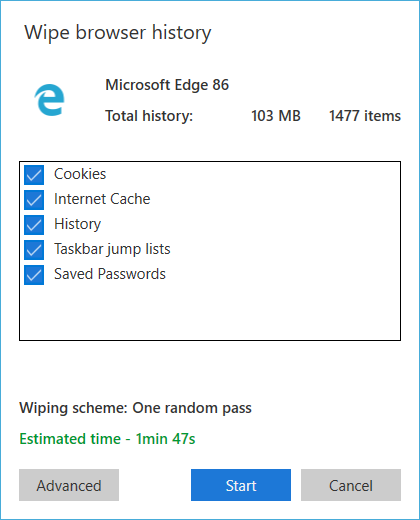
You will then see an overview of the data to be wiped, the wiping scheme that will be used, and an estimated time for the wiping process.
To exclude certain elements from being wiped, unselect the corresponding checkbox.
Click ‘Advanced’ to add more elements, change the wiping scheme, schedule the wiping task for later, or adjust other settings. To learn more about advanced wiping options, read Wiping options.
Click ‘Start’ to confirm wiping.
Wiping commands launched from the Overview pane are executed immediately after you click ‘Start’. You can follow the progress of the command in the task list of the lower pane of BCWipe Task Manager. Once the command is completed, a pop-up is displayed with a completion status and an option to view the log file. The corresponding task will then be deleted from the list.
To see how to create recurring wiping tasks with BCWipe Task Manager, read Creating a wiping task and Schedule.