How to activate Search in JCM
The Search feature in Jetico Central Manager (JCM) must be activated and deployed to client computers before you can begin using its data discovery functionality. For terminology and module descriptions, see Jetico Central Manager Architecture and Terminology.
Option 1. Activation during installation
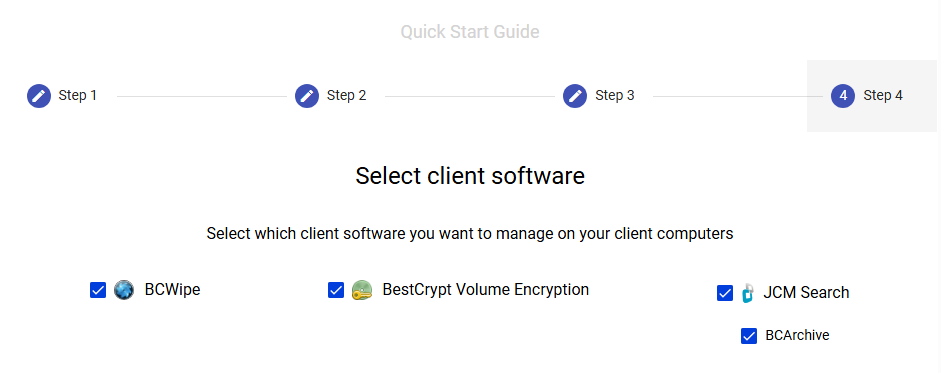
During the initial installation of the JCM Server, after creating the first user account (aka superadmin), you will see the Quick Start Guide. On this screen:
- Enable the Search module to make the data discovery functionality available in the Central Management Console and to allow its deployment to managed client computers.
- Enable the BCArchive module to support encrypted backups created during secure erasure. (This module depends on Search.)
- Proceed with installation. Only the selected modules will be deployed.
When the Search module is enabled during installation, the SEARCH menu item will appear automatically in the JCM Web Console.
Pro Tip: Enable AI-powered Data Classification with Search
The AI-powered Data Classification in Jetico Central Manager utilizes Ollama - an open-source tool that allows users to download, run and manage Large Language Models (LLMs). LLM is an advanced AI system built on deep neural networks designed to process and understand human-like text.
When you run Jetico Central Manager Setup, the following dialog window appears at the last step
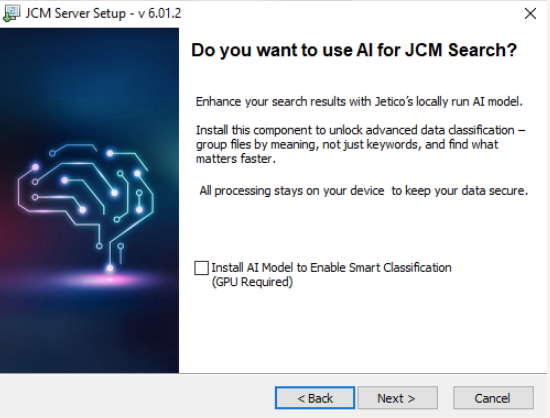
If you select 'Install AI Model to enable Smart Classification', then JCM Setup will automatically download and install Ollama.
The AI-powered search in JCM uses the Ollama tool with a nomic-embed-text model.
.
Note: Search processes based on AI models consume significant resources. It is strongly recommended to install JCM Server on a computer equipped with a hardware graphics card (often called as GPU, or Graphics Processing Unit) to accelerate AI calculations and improve AI search performance.
For working with the LLM nomic-embed-text in Ollama, requirements for GPU are quite modest compared to larger LLMs: a GPU starting with 4 GB of VRAM memory will be sufficient.
For example, you can use a mid-range GPU such as an NVIDIA GTX 1050 Ti or newer.
If you have the GPU installed, then the "ollama ps" command should show '100% GPU' in the 'Processor' column:

Option 2. Activation after Installation
If you skipped Search during installation or want to add it later:
- Log in to the JCM Web Console using an account with Administrator or Operator role.
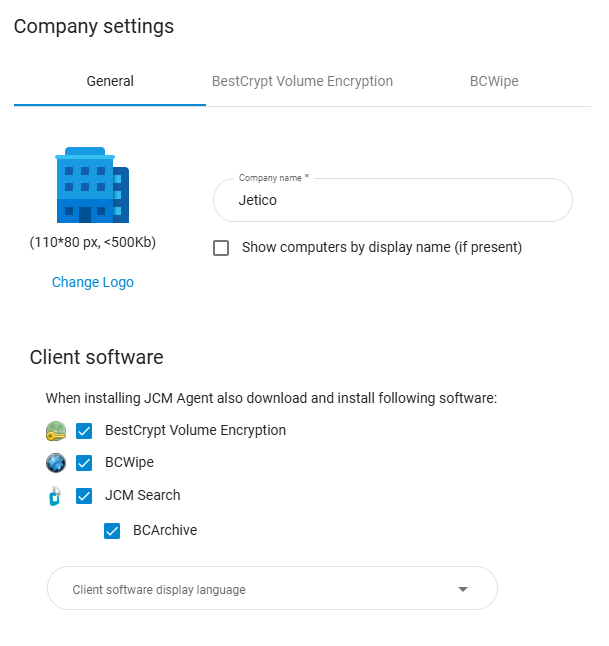
- Navigate to Management → Company Settings.
- In the General section, under Client software, check the box next to JCM Search.
- Click Save. This will deploy the Search client module to selected endpoints during the next client update.
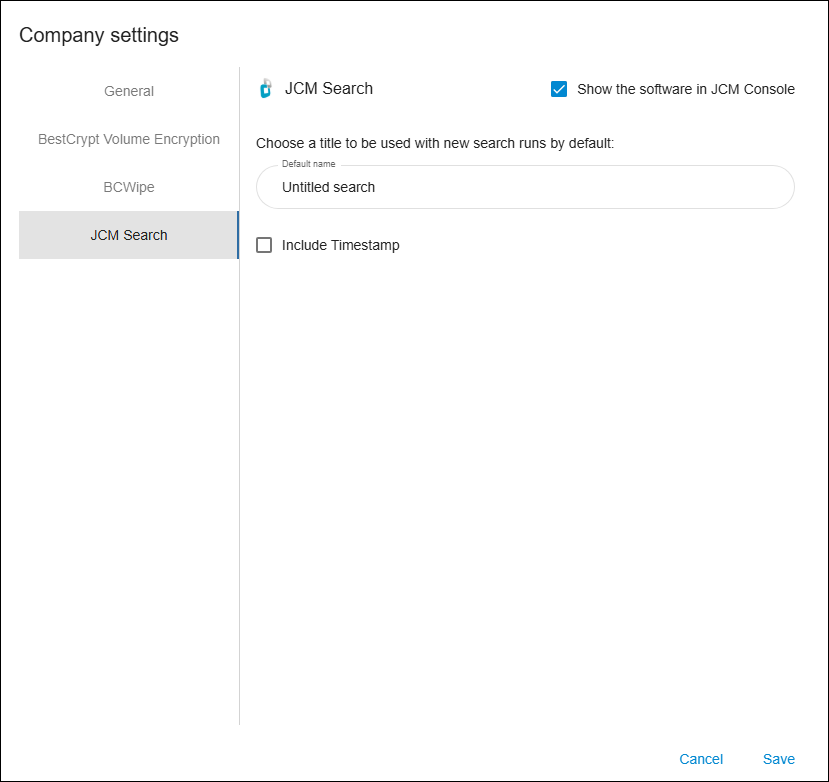
- For the SEARCH tab to appear in the web console, switch to JCM Search under Company Settings and enable 'Show the software in the JCM Console'
|
|
|
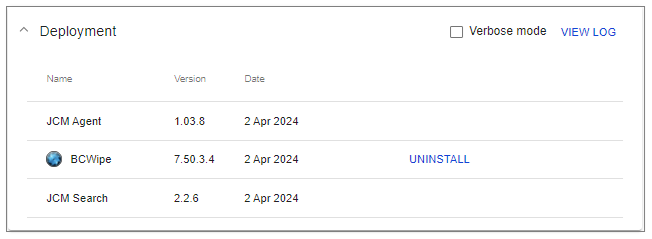
Verifying Client Deployment
To verify the status of the Search Client installation:
- Open the Computer Page for the target endpoint in the Web Console.
- Scroll down to the Deployment section.
- Review the deployment log to see the installation progress or any errors if the installation has not completed.
When the deployment is successful, the Search Client entry will display the version number and the installation date.