First Login to JCM Console
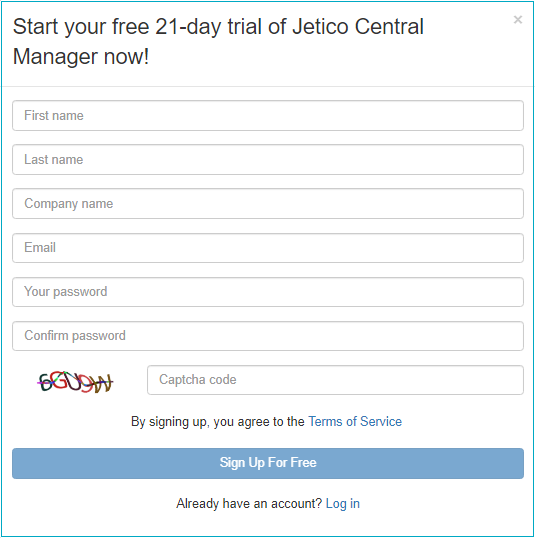
As soon as you click Sign Up For Free on the cloud.jetico.com website, Registration form with the following fields
will be displayed:
|
- First name - optional field.
- Last name - optional field.
- Company name - mandatory field, a company with this name will be created by the program automatically.
- Email - mandatory field, , this entry will be used as a login name in the Login dialog.
- Password - mandatory field, this password will be used to access JCM database.
- Password confirmation - mandatory field, the registration will not proceed if the password and password confirmation fields do not match.
|
Fill in all the fields and click Create to create your first administrator account. Log in, read the Quick Start Guide
and then the JCM Console will appear (see below).
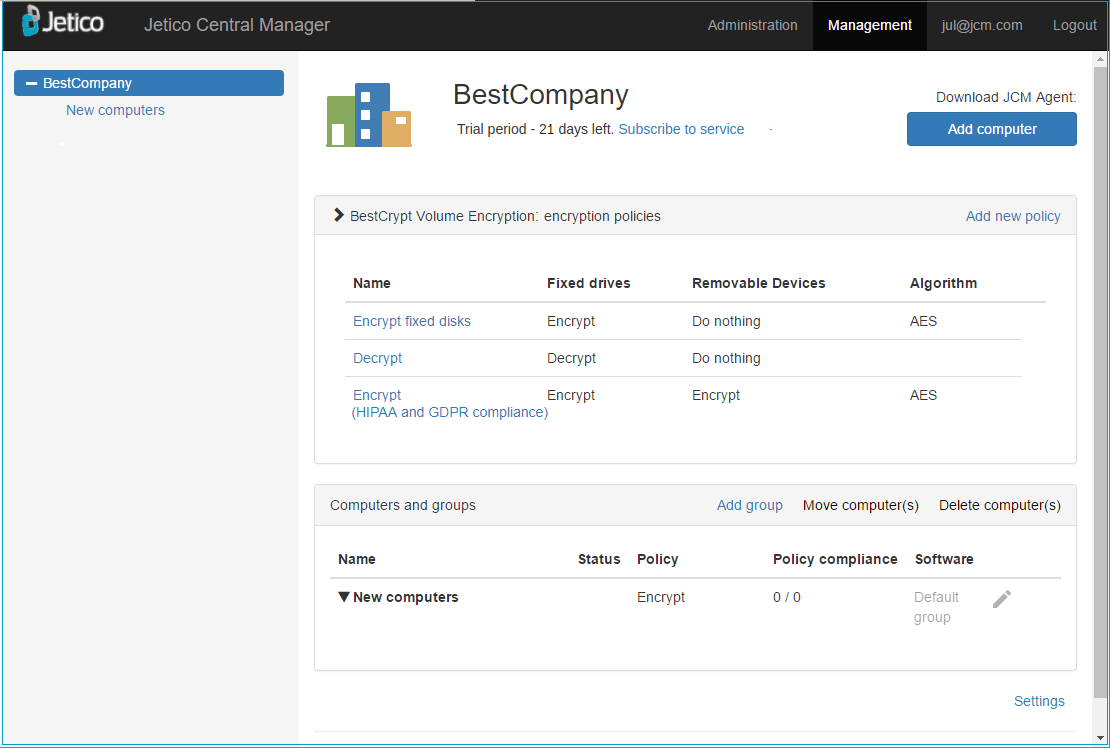
At this stage, JCM has initialized the database by creating the following objects:
- A company with the name specified in 'Registration' form.
The company name and its license information are presented in the top part of the window.
- An administrator account with full access rights.
The e-mail of the currently active user account and 'Logout' command are displayed in the rightmost section of the top bar.
- An empty group named New Computers.
The group is presented at the leftmost part of the window under the company name. Currently the number of computers in the group will be displayed as zero.
- A list of embedded encryption policies.
The list resides in the central part of the window under BestCrypt Volume Encryption bar.
The picture above shows the JCM Management Console where JCM administrators can directly manage client computers.
The JCM Management Console consists of two main parts:
- Left pane - a list of computers/groups/companies.
- Right pane - contents depend upon the item selected in the left pane:
- Computer page - if a computer is selected.
- Group page - if a group is selected.
- Company page - if a company is selected.
Use menu command at the top bar of JCM Console to switch to the JCM Administration Console where
JCM administrators can perform administrative functions.
Each of the JCM Console pages are described in more detail in subsequent chapters of this manual.