To install BCWipe Total WipeOut Configuration Wizard, follow these simple steps:
|
1. Run the installation file.
Download the setup file following the link received fro Jetico Sales together with the license key. Double-click to start the installation process.
|
|
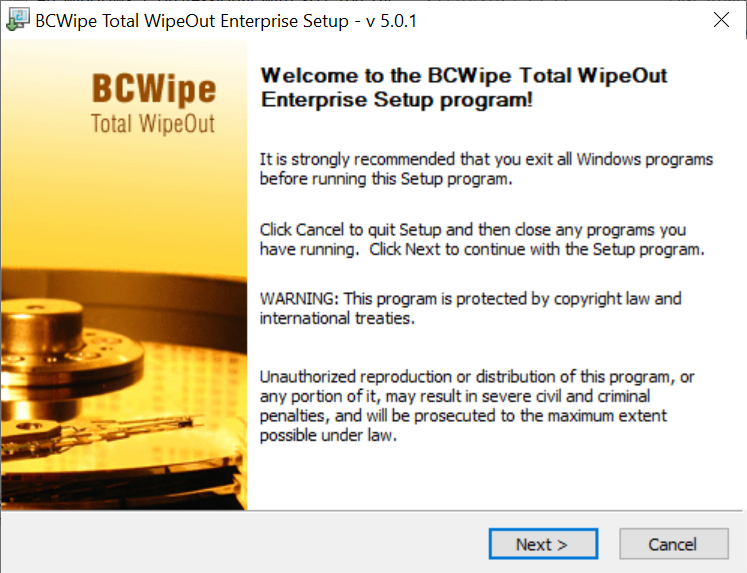
2. Follow the steps in the Setup Wizard
🗲HINT: To install BCWipe Total WipeOut with Default parameters, simply click Next throughout the Setup Wizard.
Use these controls to navigate the Setup Wizard. We will review the key dialogs in the next step.
 - aborts installation. - aborts installation.
 - proceeds to the next step of installation. - proceeds to the next step of installation.
 - returns to the previous step of installation. - returns to the previous step of installation.
|
|
|
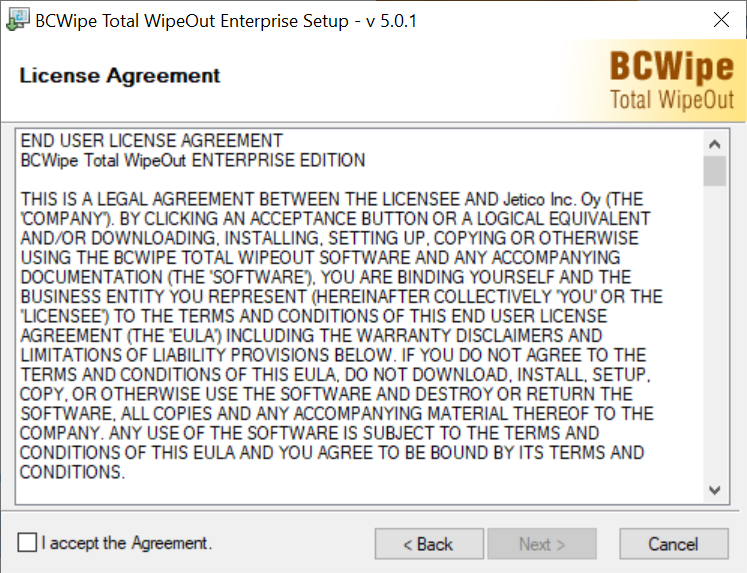
3. Read the License Agreement
Read the License Agreement carefully and check 'I accept the Agreement' if you approve. Then click  . .
|
|
|
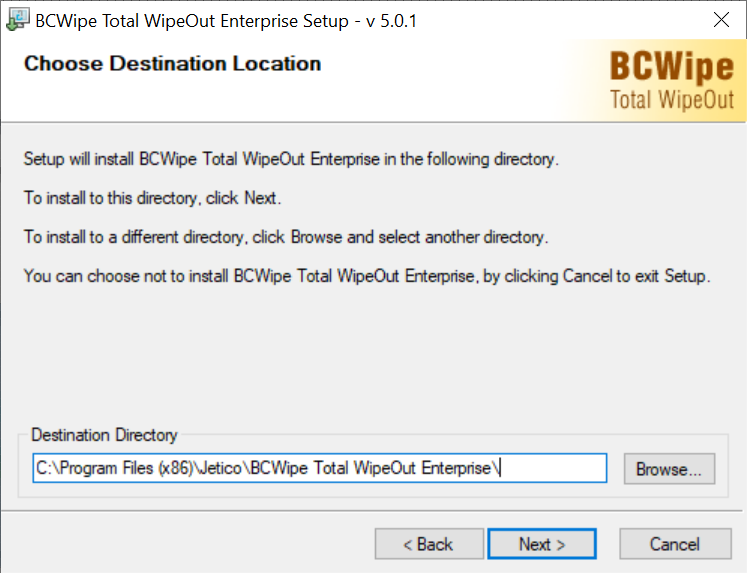
4. Choose Destination Location
By default, BCWipe Total WipeOut Enterprise will be installed to C:\Program Files (x86)\Jetico\BCWipe Total WipeOut Enterprise\
If you would like to change that destination, type in a path to the preferred folder manually, or click  and select the folder in Windows Explorer. and select the folder in Windows Explorer.
|
|
|
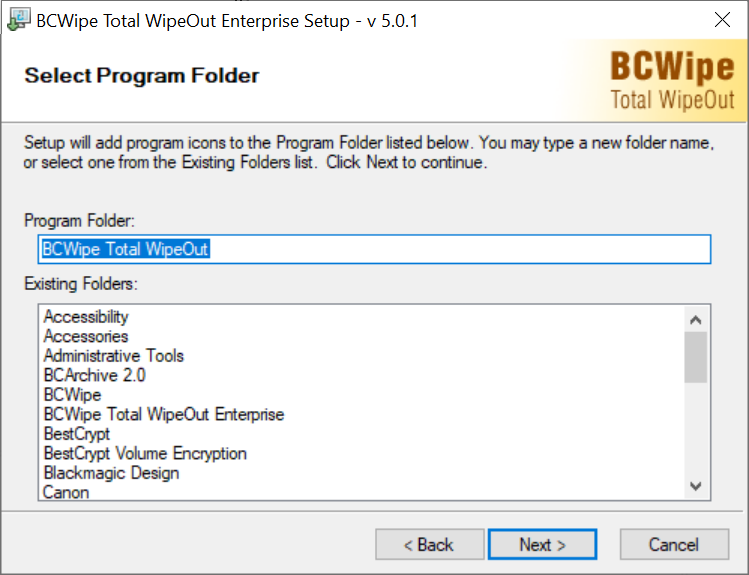
5. Select Program Folder
By default, BCWipe Total WipeOut Enterprise will be accessible from Windows Start menu under BCWipe Total WipeOut Enterprise program folder.
If you would like to change the name of the folder created for BCWipe Total WipeOut Enterprise in Start menu, type in a preferred name to the edit box manually.
|
|
|
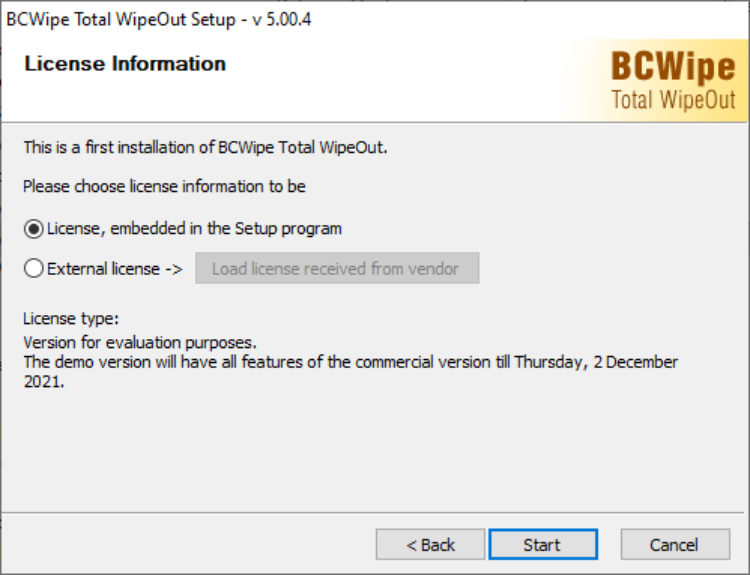
6. Select license
By default, BCWipe Total WipeOut Enterprise will install a trial version using the embedded demo license.
🗲HINT: Trial version of BCWipeTotal WipeOut allows creating 1 bootable USB to wipe up to five drives with the 1-pass zero wiping scheme.
In case you already have a license key received from the Jetico team, highlight the license text by keeping Shift button pressed and moving mouse cursor from the beginning of license data block (starting with -----BEGIN LICENSE-----) to the end (continuing through -----END LICENSE-----). Press Ctrl and C buttons simultaneously - this puts the license data into clipboard.
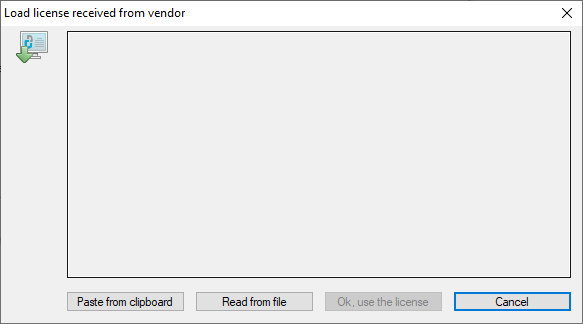
In the Setup Wizard, select External License and click 
In the dialog window opened, click  , then , then  . .
Click  to initiate the installation process. to initiate the installation process.
|
|
|
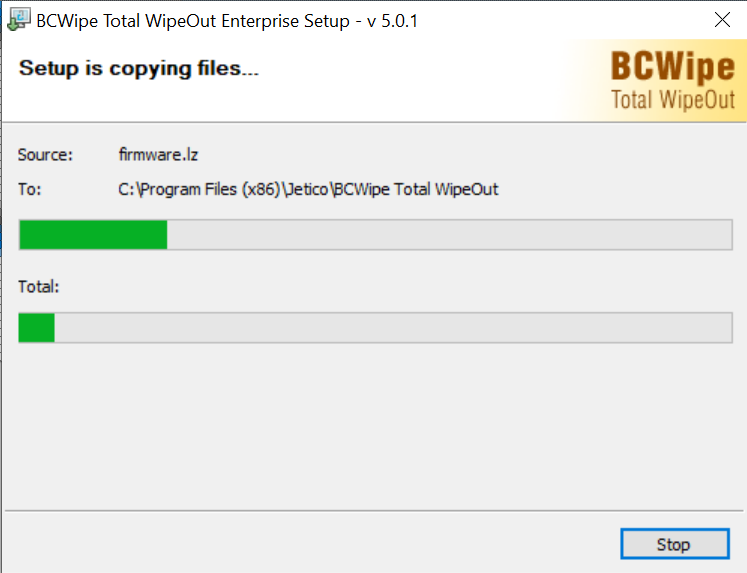
7. Copying files
Wait while setup is copying files and creating program directories.
If you need to abort the installation at this step (not recommended), click 
|
|
|
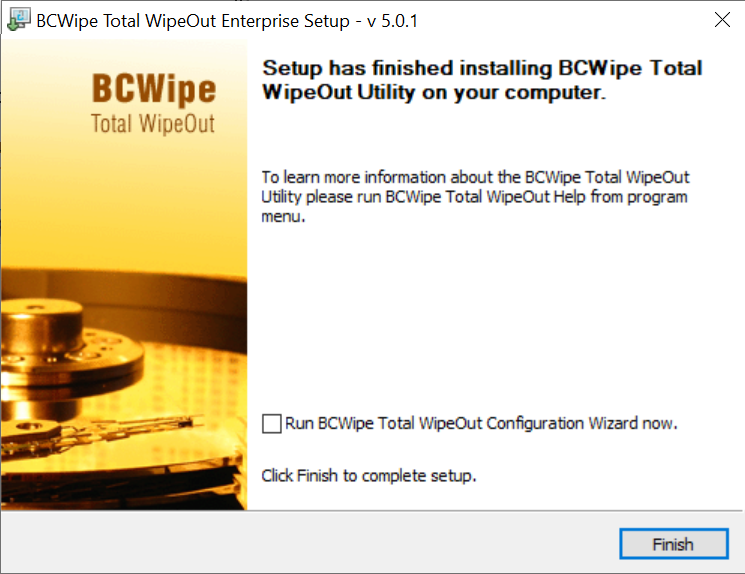
8. Final step
BCWipe Total WipeOut is ready!
Check "Run BCWipe Total WipeOut Configuration Wizard now" to start creating you first bootable device.
Click  to close the Setup Wizard. to close the Setup Wizard.
|
|
|
|
|
Next topics:
BCWipe Total WipeOut Configuration Wizard
Drive type