BestCrypt is an advanced system with many functions. This section provides a simple, guided tour of the two most basic BestCrypt functions -- creating a new container and mounting it -- to give you a gentle introduction to encrypted data storage.
After you have successfully installed BestCrypt, you'll want to create your first container file. To open the program, navigate to your computer's /Applications folder and find the program called BestCrypt.app. Double click the file, and you will be greeted by the BestCrypt Control Panel:
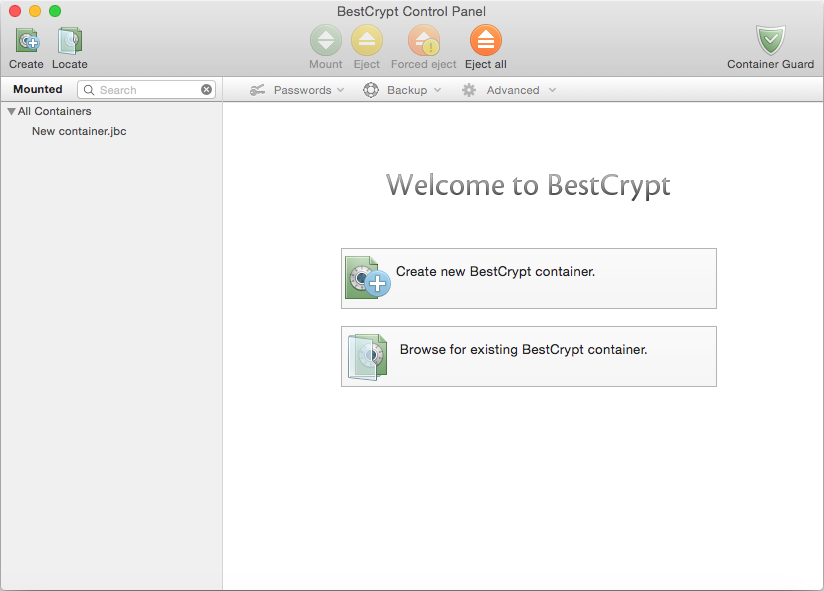
To create your first container, you can click either the big button in the center area labeled or the smaller button on the top toolbar. Either of these actions will greet you with the New Container Creation dialog box:
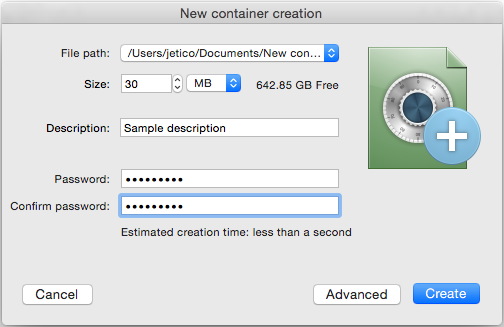
All of the options you see in this dialog will be further explained throughout this user guide. For now, you can use all the default values to create your first container. Click the button, choose where on your computer to store your new container file and supply a new password for it.
When the creation process completes, you should see your new container displayed in the Control Panel. If you already have a BestCrypt container on your system (perhaps created by BestCrypt for Windows or Linux), you can instead click the button to locate it. In any case, your new container will be added to the container list and its information, along with mounting options, will be displayed to the right:
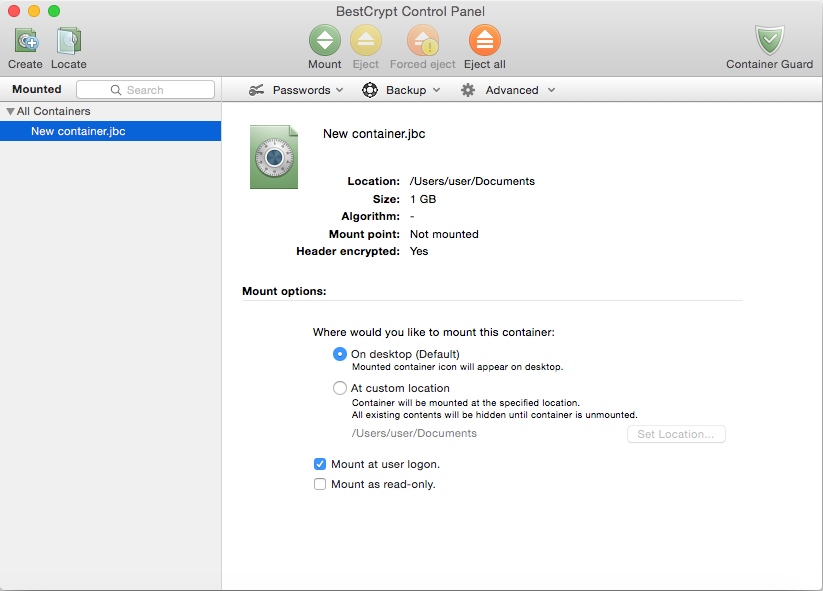
Now that you have a new container, you'll want your computer to recognize it as a storage device -- a process called "mounting" -- so you can begin filling it with the files you want to protect. Select your new container in the Control Panel and click the green button on the toolbar.
BestCrypt will show the Mount dialog box to allow you to change mounting options. Again, these options are covered in more detail in other sections; for now, enter your container password (which you created in Step 1) in the password field and click :

BestCrypt will verify your password and create a new removable device mounted from the container file you have just created. If you open a new Finder window, and you will see your newly mounted container:
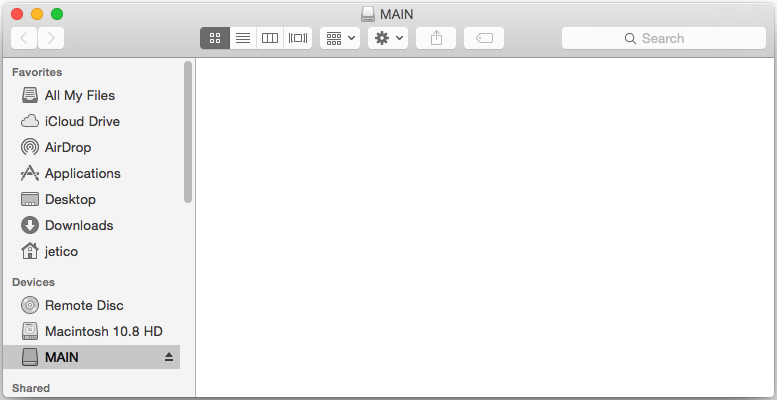
Your secret virtual drive is now accessible just like any normal disk drive. Everything you write to the disk will be automatically encrypted; everything you read from it will automatically be decrypted. You can create or copy files on this new disk and they will be safely stored, encrypted, in the container file.
After you're done working with your new encrypted disk you can eject it the same way you would eject an ordinary flash drive: using the eject button in Finder's disk panel or the DiskUtility application. BestCrypt, however, also provides additional ways to eject mounted containers that complement standard ways described previously and add additional functionality to this process:
Basic Concepts
BestCrypt Control Panel
Strong Password Guidelines