This guide quicly describes the first steps you need to perform after installing BCWipe on your Mac for the first time.
The first thing you need to do after installing BCWipe is to wipe free space on all your existing drives. This is nessesary to ensure that data remnants left by your Mac when you simply deleted the files before are completely gone from your system.
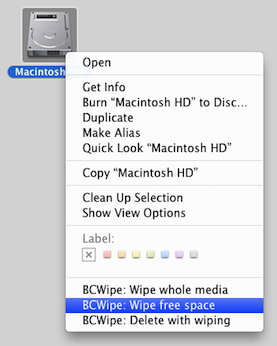
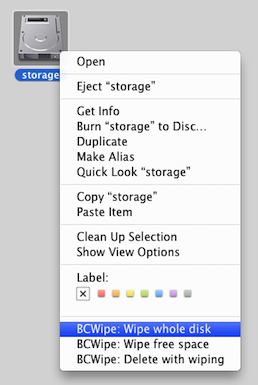
To wipe free space either click Wipe Free Space button on Task Manager toolbar or control-click a disk icon on your desktop and select BCWipe: Wipe free space item in Finder services menu:
After you've done wiping free space on all existing drives your system enteres a kind of a blank slate when all remnants of the previously deleted files are completely cleaned up and gone. From here on out when you want to get rid of any files that contain valuable information don't just simply delete them - use BCWipe to delete them with wiping instead, one might say "BCWipe them".
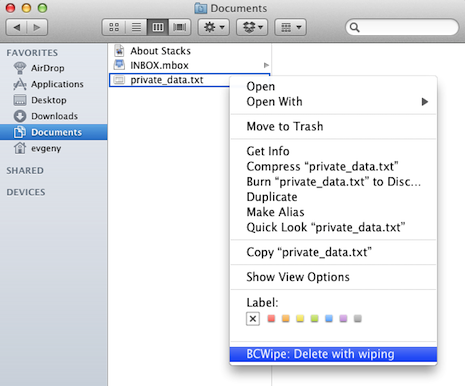
As always you can do that by clicking Wipe Files button on Task Manager toolbar and choosing the files you want to delete or just by control-clicking the file, folder or group of files and selecting BCWipe: Delete with wiping item in Finder service menu:
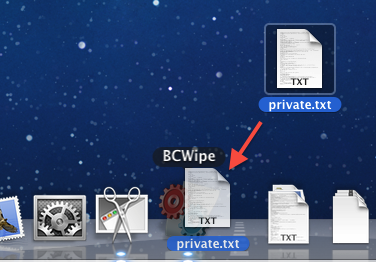
Another convinient way to get rid of the sensitive files is to just drop them into BCWipe Dock Icon:
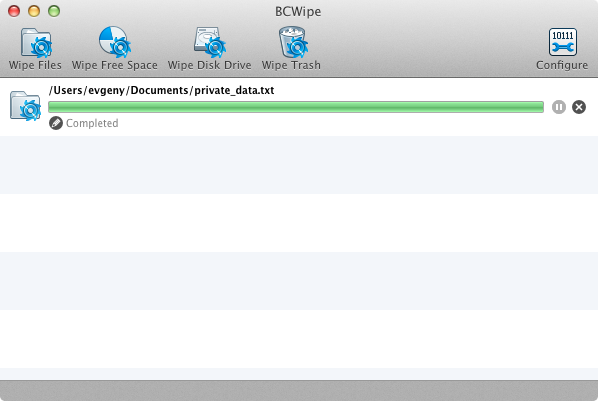
After that you can verify in Task Manager that your file was successfully wiped and deleted and view details in log information:
You can wipe multiple files and entrie folders at once using any of the methods described above and BCWipe will take care of the rest.
When any of the internal or external disks you have been using for a long time need to be disposed of don't just delete files or format them - use BCWipe to completely erase them instead. This way you can be absolutely sure that not a single byte of information can leak to the subsequent owners of this disk.
To wipe whole disk either click on a Wipe Whole Disk toolbar button on a Task Manager toolbar or just control-clicking the disk on your Desktop and selecting BCWipe: Wipe whole disk item in Finder service menu:
As you have seen above it is very easy to protect your sensitive data BCWipe. However there are much more advanced features that you can employ to further enforce your privacy.
BCWipe Task Manager is a powerful tool to keep track of all your wiping tasks and collect detailed logging information. Consult our Task Manager User Guide for more information.
Jetico has preset BCWipe with reasonable defaults but you can choose whatever is most suitable for your own needs. Refer to our Wiping Preferences guide for more information on how to choose your default wiping scheme, configure additional options and even create your own wiping algorithms.