Quick Start guide
Step 1: Getting Started
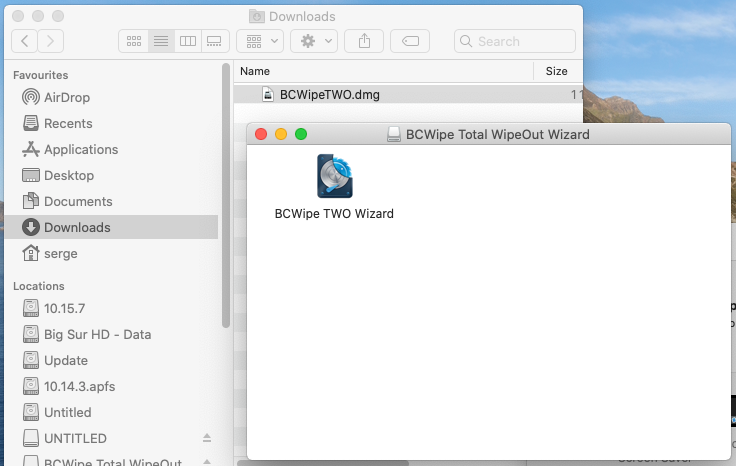
- Download and run “BCWipeTWO.dmg”
Step 2: Select wiping options for the bootable USB
To make sure your data is gone forever, BCWipe Total WipeOut will overwrite the contents of the drive entirely, including macOS system files. This is done from outside the OS using bootable USB. BCWipe Total WipeOut USB Configuration Wizard will help you to create one.
- Run BCWipe Total WipeOut Wizard:
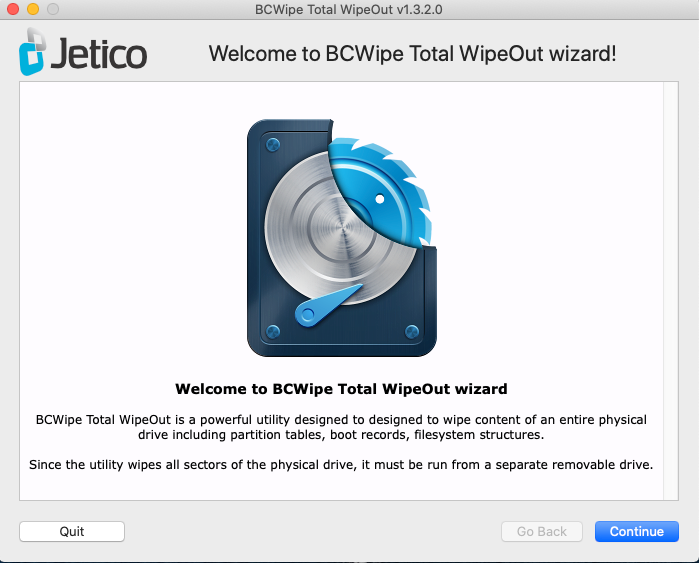
- Connect a USB drive to your Mac
- Click ‘Continue’
- Register the software with your license, or use it in ‘Demo’ mode
- Click ‘Continue’
Step 3: Select mode of operation
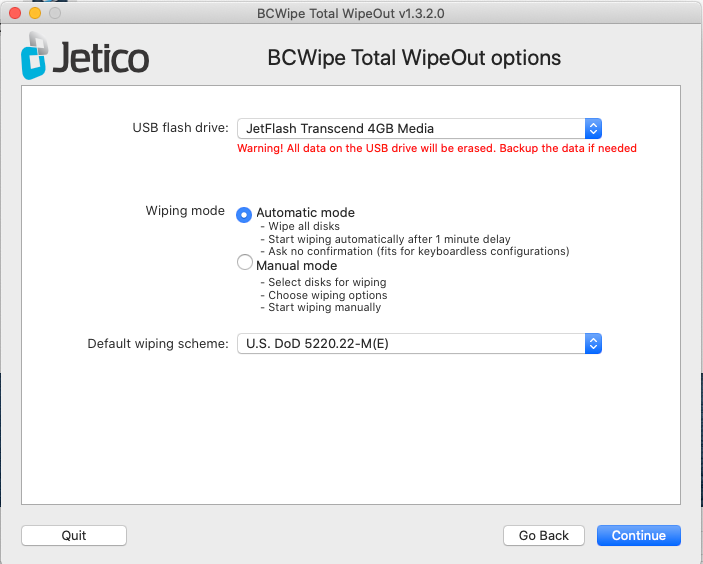
- Select ‘Automatic mode’ or ‘Manual mode’
In Automatic mode, the wiping process starts automatically after a 1 minute countdown. All the drives attached to your Mac will be erased at once with the wiping scheme configured in the Wizard. If you changed your mind, you can still cancel the process before the minute runs out.
In Manual mode, you will select the drives to be erased and initiate the wiping process manually. The wiping scheme selected at that step can be changed later. - Choose the default wiping scheme
- Click ‘Continue’
Step 4: Create the USB
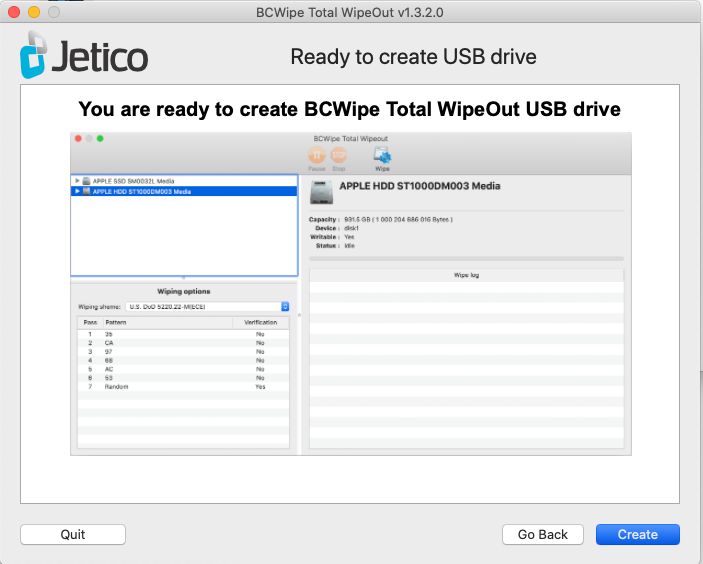
- Click ‘Create’
- Wait for the process to complete
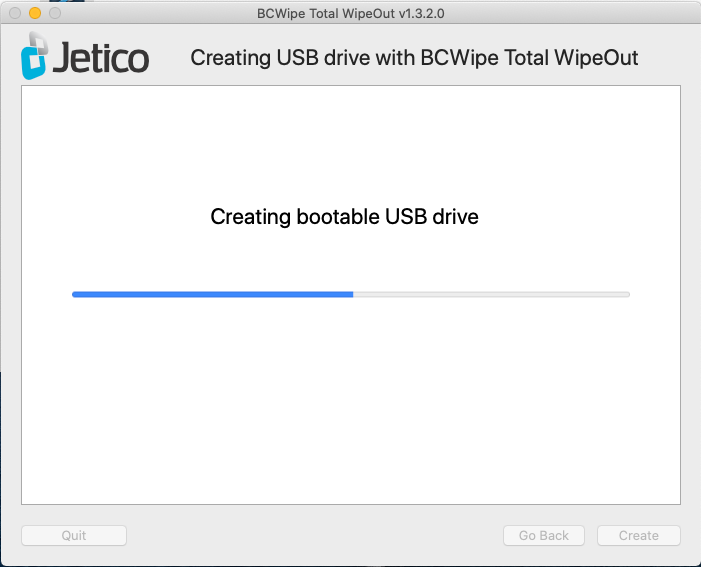
- Click ‘Finish’
The USB drive is now ready for wiping. You can boot the Mac you want erased with this USB.
Should you need to change any settings for that USB, launch BCWipe TWO Configuration Wizard again. Find detailed instructions here: Updating the USB
Step 5: Booting into BCWipe Total WipeOut wiping environment.
When your Mac is powered off,
- Plug in the bootable BCWipe Total WipeOut USB.
- Press and hold Alt, then power your Mac one. You will see a boot selection:
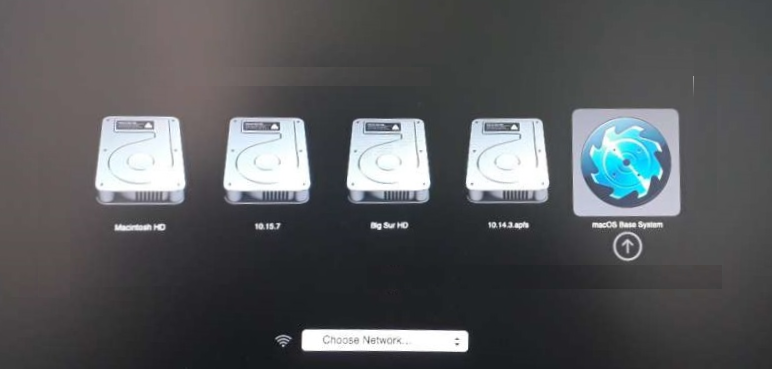
- Select "macOS Base System"
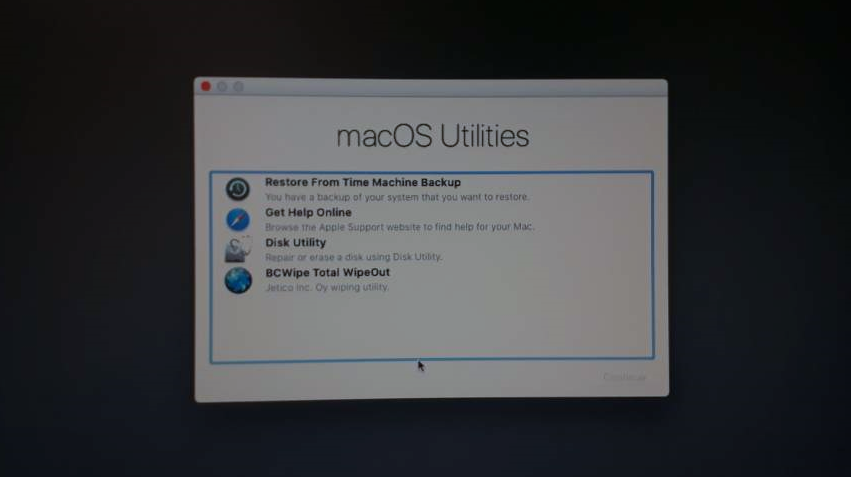
- Click BCWipe Total WipeOut
You are now in the BCWipe Total WipeOut wiping environment. One more step.
Step 6: Erasing your Mac.
- In Automatic mode, the wiping process will start automatically, you do not need to do anything
- In Manual mode, you will need to select the disk to be wiped and click ‘Wipe’. You can also change the wiping scheme. The detailed information about the drive selected will be displayed on the right.
- Follow the progress and review the log file.
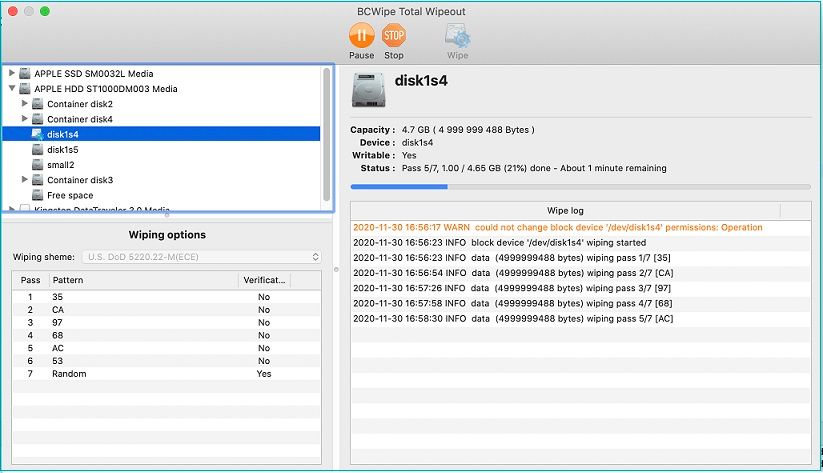
- The log will be saved to the USB drive after wiping is completed. You can use it as a certificate of proof.
Extra step. Reinstall Your OS After Wiping
BCWipe Total WipeOut will NOT destroy your Mac. It will erase all data including macOS. This is enough when you donate or sell your Mac, but if you intend to continue using it, you will need to install macOS fresh.
Here is how: https://support.apple.com/en-us/HT201372